Replacing old or faulty electrical switches is an essential maintenance task that ensures the safety and functionality of your home's electrical system. Over time, switches can wear out, leading to issues like flickering lights, unresponsive switches, or even electrical hazards. In this blog post, we will provide you with a step-by-step guide on how to safely and effectively replace old or faulty electrical switches, allowing you to maintain a properly functioning electrical system in your home.
Step 1: Safety First
Before starting any electrical work, it is crucial to prioritize safety. Begin by turning off the power to the circuit you will be working on from the main electrical panel. This will protect you from electric shock and prevent any accidental damage to the circuit or other electrical components.
Step 2: Assessing the Switch Type
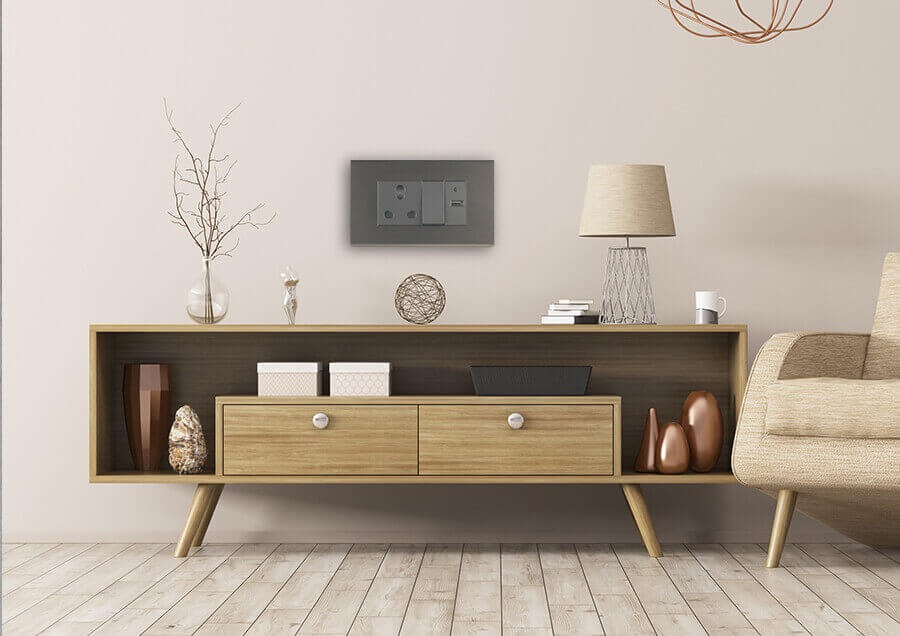
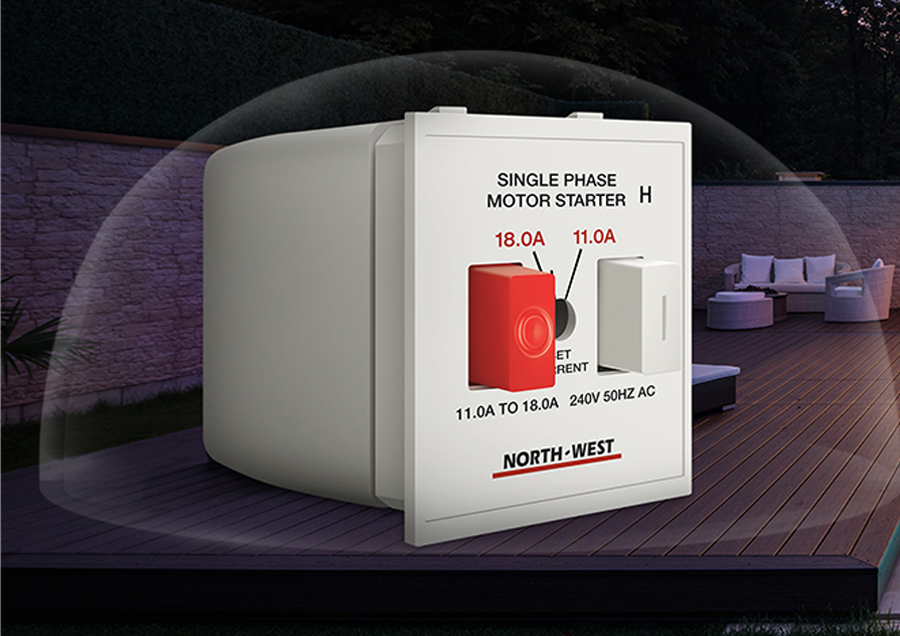
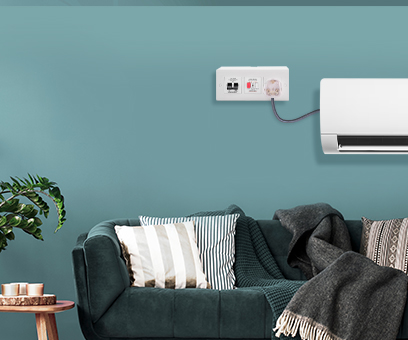
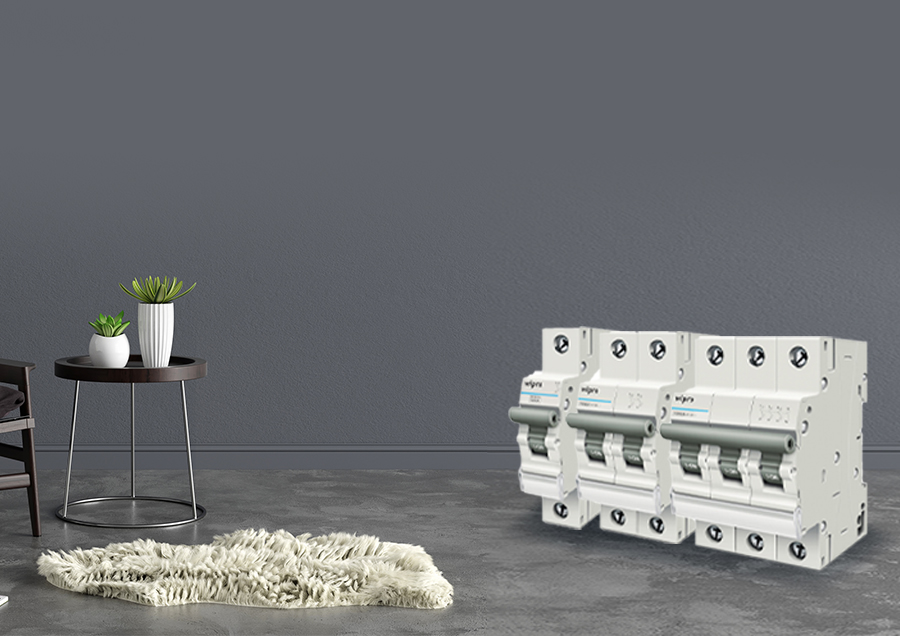
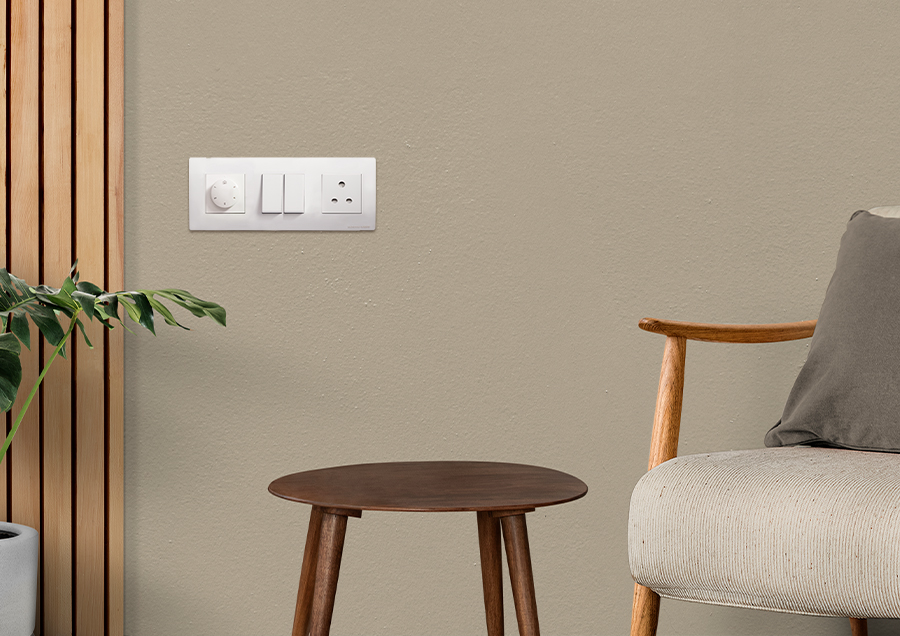
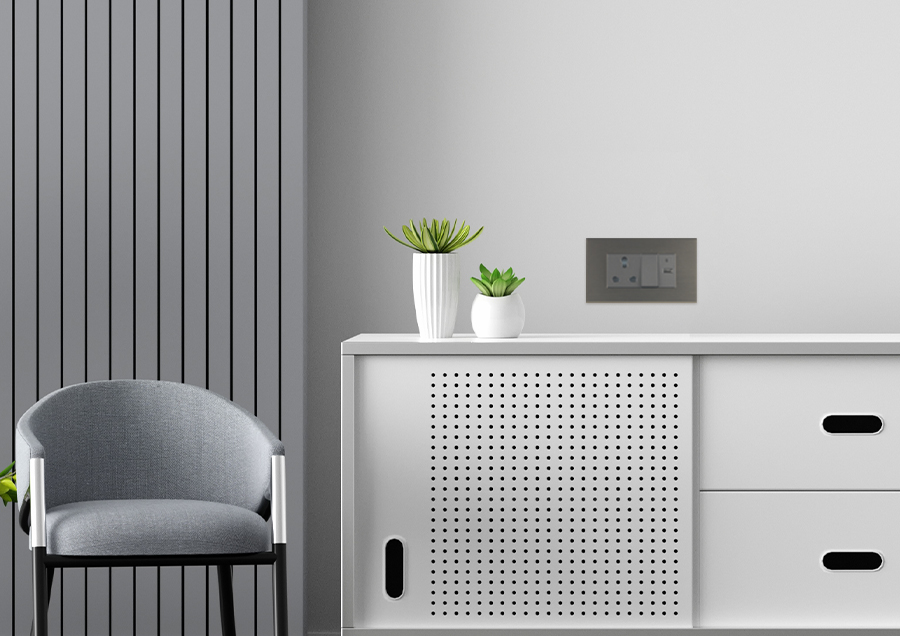
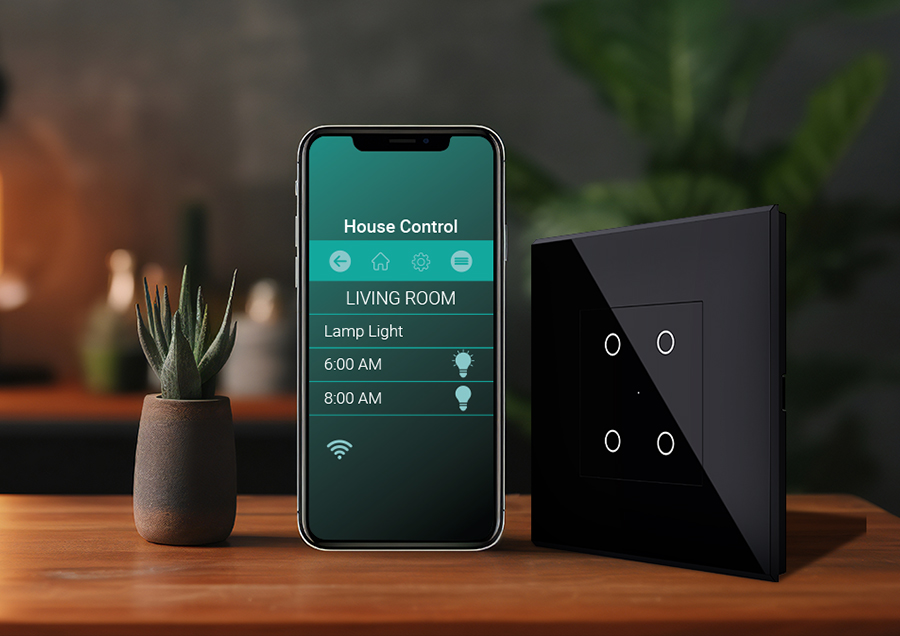
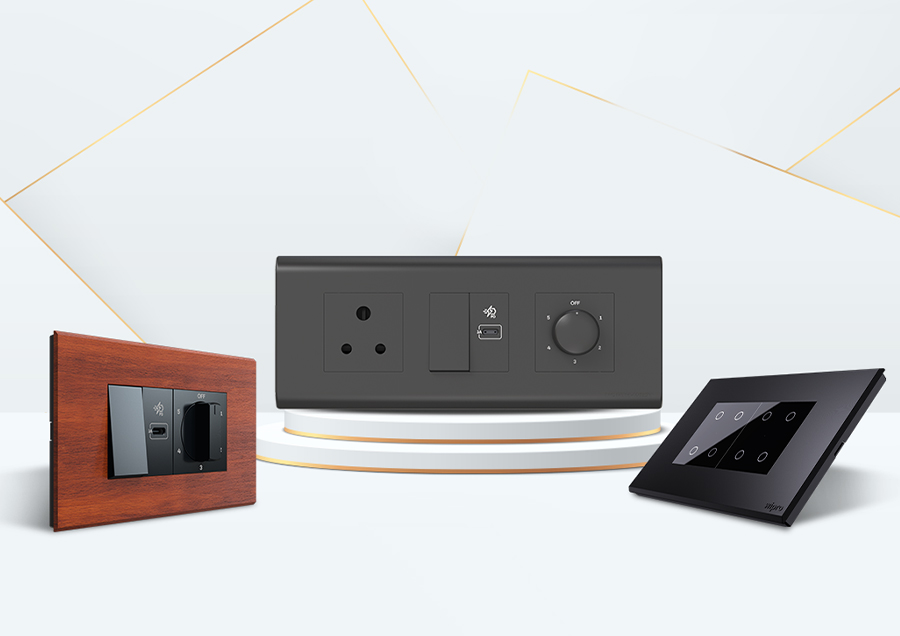
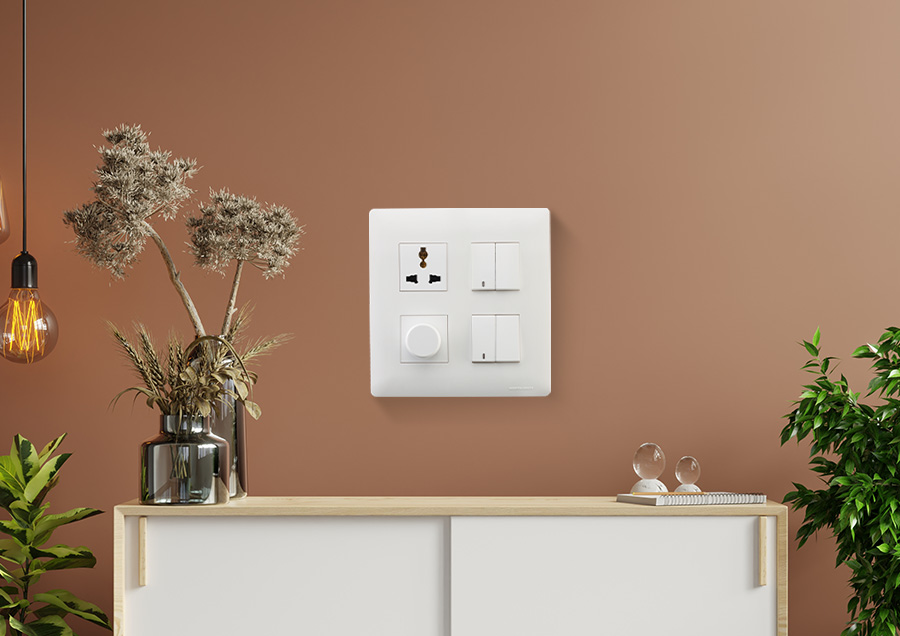
There are various types of switches available, including single-pole switches, three-way switches, dimmer switches, and more. You can check out Wipro North-West as they have a wide variety of switches available. It is important to identify the type of switch you need to replace to ensure you select the correct replacement. Refer to the existing switch and its functionality to determine the appropriate replacement switch.
Step 3: Gathering the Tools and Replacement Switch
Once you have identified the types of switches you need to replace, gather the necessary tools for the job. This may include a screwdriver, wire stripper, voltage tester, and pliers. Additionally, purchase the replacement switch that matches the type and specifications of the existing switch.
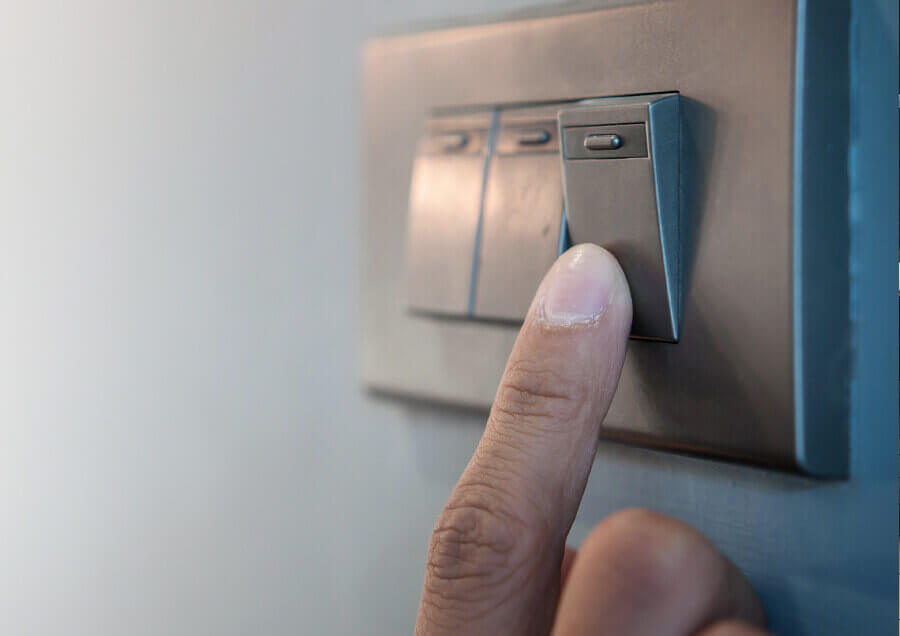
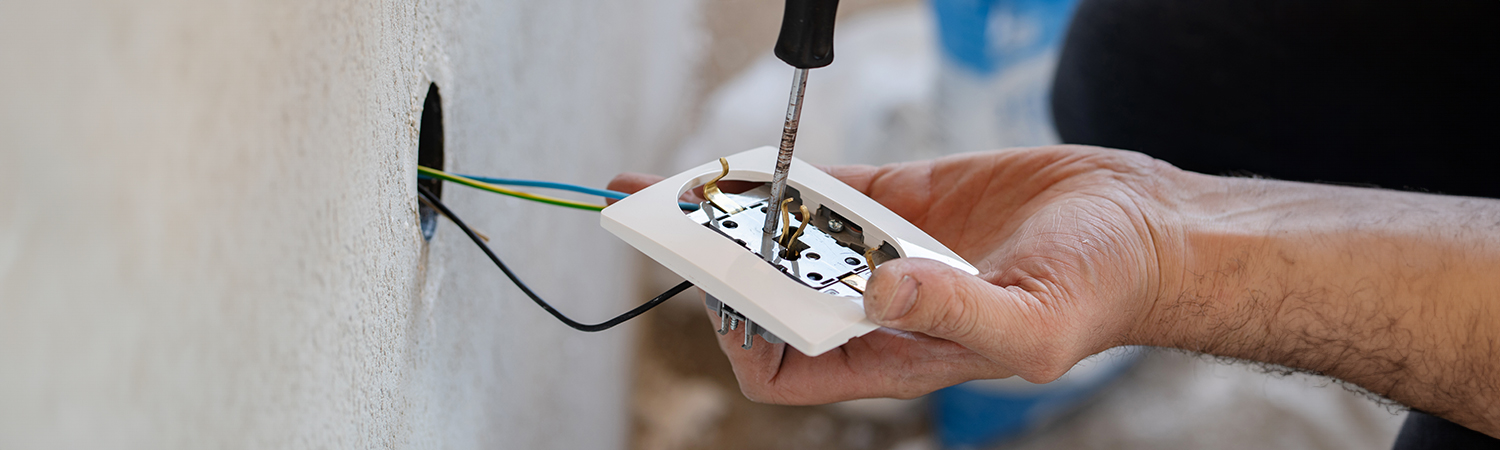
Step 4: Removing the Old Switch
With the power turned off and the necessary tools at hand, carefully remove the cover plate of the switch. Next, unscrew the screws securing the switch to the electrical box. Gently pull the switch out and detach the wires from the terminals, taking note of their placement for proper reconnection.
Step 5: Installing the New Switch
Prepare the new electrical switches by connecting the wires to the appropriate terminals, following the same configuration as the old switch. Be sure to use wire connectors or terminal screws to secure the connections properly. Once the wires are securely attached, carefully push the switch back into the electrical box and screw it in place. Finally, reinstall the cover plate.
Step 6: Testing and Finishing Up
With the new switch installed, restore power to the circuit by turning it back on from the main electrical panel. Use a voltage tester to verify that the switch is functioning correctly. Test the switch by turning it on and off, ensuring that the connected light or appliance responds accordingly. If everything is in working order, you have successfully replaced the old or faulty electrical switch.
Conclusion:
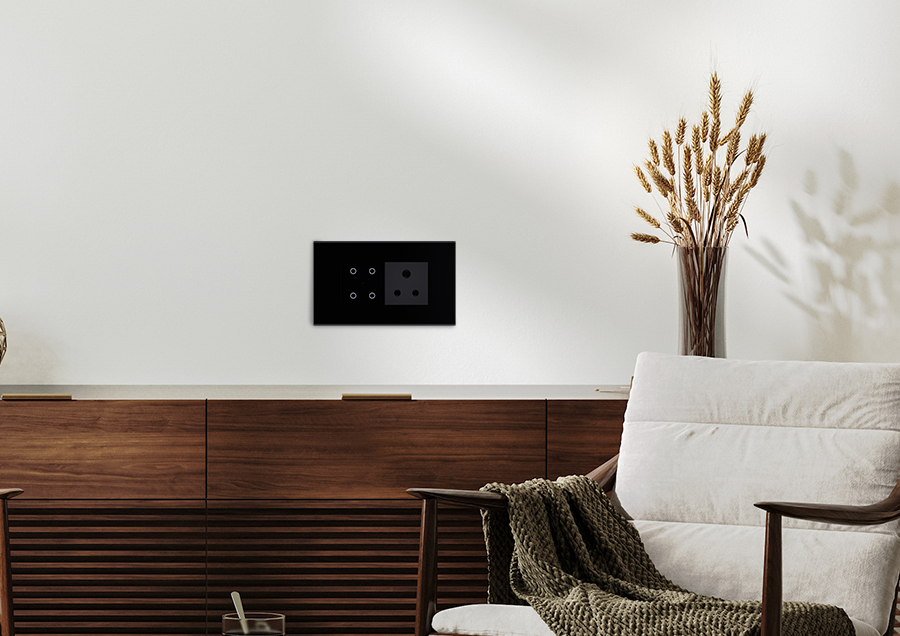
By following this step-by-step guide, you can confidently replace old or faulty electrical switches in your home. Regular maintenance and proper functioning of switches are essential for a safe and functional electrical system. If you are unsure or uncomfortable working with electricity, it is always recommended to consult a qualified electrician. Additionally, for those seeking top-notch quality and long-lasting solutions, consider exploring the range of switches offered by Wipro North-West. Known for their reliability and durability, Wipro North-West switches are trusted by homeowners and businesses alike for their superior performance.